If you’re a new real estate agent, hosting an open house can feel overwhelming – trust me, I’ve been there.
I still remember my first open house: I showed up flustered, forgot to bring flyers, and didn’t capture any leads.
It was a hard lesson learned, but it taught me that preparation is everything.
Over time, I developed a reliable open house checklist that I follow before, during, and after every open house. And guess what?
My open houses became smoother, I started generating quality leads, and I felt more confident with every event.
In this guide, I’m sharing my ultimate open house checklist so you don’t have to go through the same trial and error. You’ll learn exactly what to do to plan, execute, and follow up successfully – and I’ll include tips, tools, and even an open house template to make your job easier.
Let’s dive in.
Why Open Houses Are Critical for New Agents
When you’re starting out as a real estate agent, getting your name out there is everything. Open houses are the perfect opportunity to meet potential buyers and sellers face-to-face, grow your network, and showcase your expertise—all in one event.
Here’s why open houses matter, especially for new agents:
- Build Brand Awareness: Hosting open houses gets your name and face out in the community. People remember agents who go the extra mile.
- Generate Leads: Open houses are a goldmine for meeting buyers and even sellers who may be thinking of listing soon.
Practice Your Pitch: Open houses give you the chance to practice answering questions, handling objections, and refining your client interactions.
Example: I once hosted an open house for a modest 2-bedroom home. During the event, I met a mix of buyers – some ready to act immediately, others planning to buy soon, and even a couple who said they were “just looking” for the following year.
With consistent follow-ups, that couple became clients six months later—and even referred two of their friends! Open houses are all about connecting with buyers at every stage of their journey and planting seeds for future opportunities.
Pre-Open House Preparation Checklist
The key to a successful open house is preparation. The more organized you are beforehand, the smoother the day will go. I learned this the hard way when I showed up to one of my early open houses without printed flyers or a sign-in sheet – rookie mistakes that cost me potential leads.
This checklist will ensure you have everything you need before the big day.
1. Confirm the Open House Details
- Double-check the date, time, and location of the open house.
- Verify that the property information (price, square footage, features) is accurate on the MLS and all promotional materials.
2. Market the Open House
Effective marketing is key to driving traffic to your event. Here’s what to do:
- MLS Listing: Make sure the open house details are updated on the MLS.
- Social Media: Create eye-catching posts for Instagram, Facebook, and LinkedIn. Use a tool like Canva to design professional graphics.
- Email Campaigns: Send a personalized invite to your database and prospects.
- Signage: Prepare yard signs and directional signs to place near the property on the day of the event.
Example: I like to post a sneak peek video of the property on Instagram Stories 2-3 days before the open house. It builds excitement and gets people to mark their calendars.
3. Prepare the Property
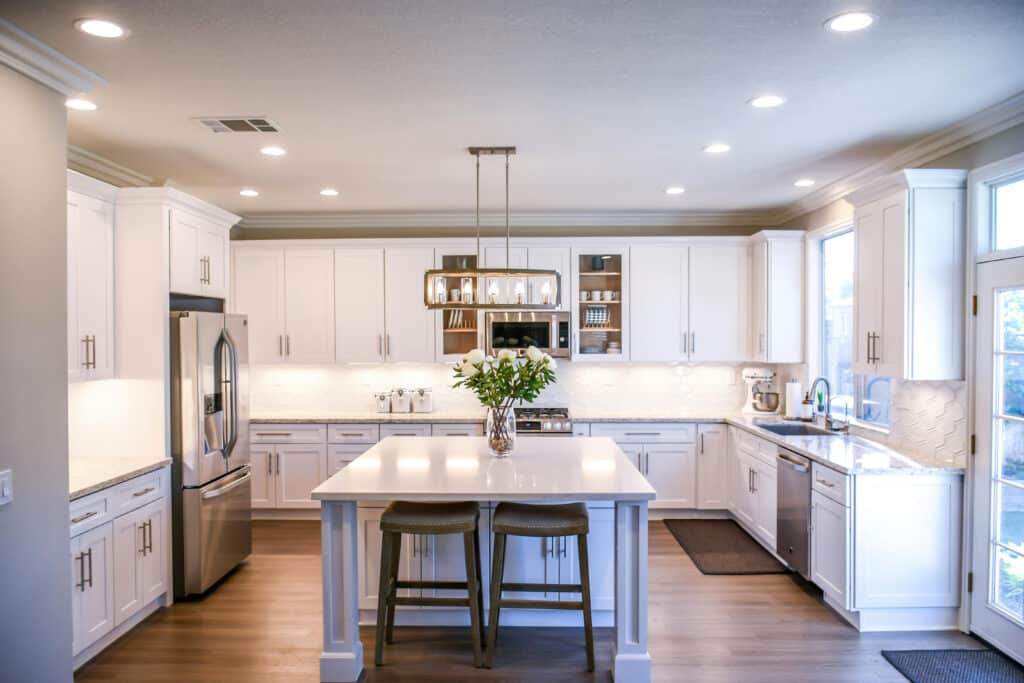
The property needs to look its absolute best. Work with the seller to ensure the home is clean, decluttered, and ready for visitors.
- Clean and Declutter: Remove personal items, organize spaces, and ensure bathrooms sparkle.
- Staging: If possible, lightly stage the home to create a welcoming atmosphere. Add fresh flowers or neutral décor.
Curb Appeal: The first impression matters! Mow the lawn, clean the front entrance, and add a welcoming touch like a potted plant.
4. Print Open House Materials
Make sure you have physical materials to hand out to visitors. This not only helps them remember the property but also establishes your professionalism.
Bring the following:
- Flyers or brochures with property details and photos.
- Local market reports or neighborhood comps to demonstrate expertise.
- Business cards (always bring more than you think you’ll need).
- A sign-in sheet or tablet for digital lead capture
Helpful Resource: Check out this open house sign-in sheet template to make capturing leads quick and easy.
5. Create Open House Sign-In
It’s almost 2025! Printed material is great, but you also need a digital open house sign in presentation to “Wow” your leads.
Prepare a simple but impactful presentation to highlight the property’s best features, the local area, and your value as an agent. Tools like Highnote allow you to create polished, digital presentations to impress attendees.
And I’ve created Highnote exactly for that purpose – to help agents or aspiring agents to impress buyers and sellers without spending time and resources on complex design software.
Highnote is simple, has a drag-and-drop feature and you can make interactive open house presentations in minutes.
Here’s how Highnote helps you stand out:
- Customizable, Professional Templates:
Highnote offers sleek, ready-to-use templates that make your open house flyers look polished and tailored, even if you’re just starting out.
- Interactive Content Sharing
Unlike traditional PDFs or printed slides, Highnote presentations allow you to embed videos, links, and dynamic content. Imagine showing a walkthrough video of a listing or linking directly to your Zillow reviews – it’s all possible.
- Easy Client Access
Send your presentation as a link that clients can open on any device, eliminating the hassle of attachments or downloads.
- Tracking and Analytics
Here’s the game-changer: Highnote tracks when and how your presentation is viewed. You’ll know if a open house attendee opened it, what they clicked on, and how long they spent on each section—so you can follow up strategically.
- Showcase Your Value
Highlight your unique value proposition, from your marketing plan to your track record, with interactive, visually compelling slides.
Using Highnote not only makes your presentation look professional, but it also gives you insights that help you close the deal.
- Position Yourself as “Tech Forward”
Your buyers and sellers will want and expect their real estate agent to be on top of technology. Sending an online, interactive presentation like Highnote presentations are, will be the way you stand out from other agents.
Example: At one of my recent open houses, I used a Highnote presentation to showcase nearby schools, parks, and comparable homes. A family looking for a kid-friendly neighborhood appreciated the info and reached out to me afterward for other listings.
6. Set Up Tech Tools
Technology makes your open house easier to manage and more engaging.
- Use a tablet or laptop for a digital sign-in process to capture leads.
- Have your CRM ready to input attendee details for follow-up.
- Use virtual tools (like Facebook Live) to give online tours for buyers who can’t attend in person.
7. Plan Refreshments and Extras
While not required, offering refreshments or small takeaways can make your open house more memorable.
- Simple options like bottled water, cookies, or coffee work well.
- Consider branded swag like pens or notepads with your logo.
Before You Leave for the Open House
Double-check this mini checklist:
- Property is clean and staged.
- Flyers, business cards, and sign-in sheets are packed.
- Signs are ready to place around the neighborhood.
- Tech tools (like tablet or CRM) are charged and ready to go
During the Open House: Agent Checklist
The day of the open house is where all your preparation pays off. This is your time to shine, make connections, and showcase not only the property but also your value as an agent. I’ll admit, during my first few open houses, I was so focused on “selling” that I forgot to connect with the people walking through the door.
Over time, I learned to balance hosting with building relationships—and that’s where the magic happens.
Here’s your step-by-step “during the open house” checklist to keep things running smoothly.
1. Arrive Early
Give yourself at least 30-45 minutes before the open house starts to set up and do a final walkthrough. Nothing looks worse than a rushed, unprepared agent.
- Place directional signs around the neighborhood.
- Turn on all the lights and open blinds to maximize natural light.
- Check the temperature (no one wants to walk into a freezing or stuffy home).
- Lightly tidy up – adjust furniture, fluff pillows, or spot clean any last-minute messes.
2. Greet Every Guest Warmly
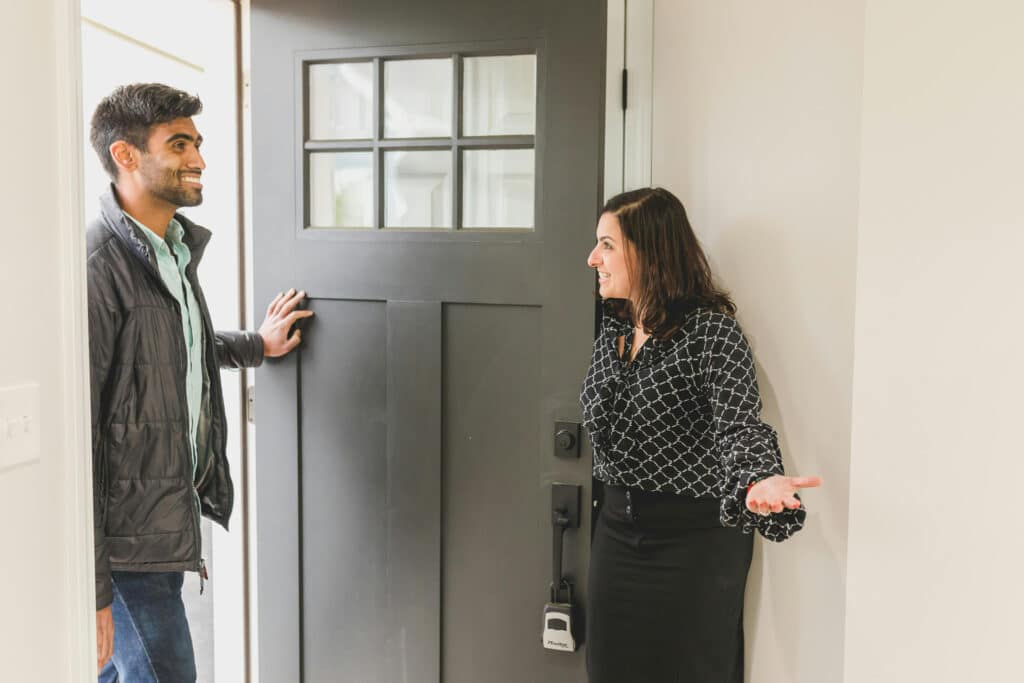
The first impression starts with you. Stand near the front door, smile, and offer a friendly greeting. Avoid hovering, but let attendees know you’re there to answer questions.
Example Greeting:
“Hi there! I’m [Your Name], the listing agent for this home. Feel free to take a look around, and let me know if you have any questions about the property or the neighborhood.”
- Hand them a flyer or brochure as they walk in.
- Offer a sign-in sheet or tablet to capture their information.
3. Use a Sign-In Process
Capturing leads is one of the main goals of any open house, and a sign-in sheet makes it simple. Whether you use a traditional form or a digital tool, don’t skip this step.
- Go digital with apps like Highnote (get a free template here: Open House Sign-In Sheet Template).
4. Showcase the Property's Highlights
While visitors are free to explore the home, be prepared to highlight key features or answer questions. Tailor your approach based on the guests. Some will want a quick overview, while others might appreciate detailed insights.
Focus on Features:
- “The kitchen was recently renovated with quartz countertops and new appliances.”
- “This backyard is great for entertaining and has space for a pool if desired.”
Local Insights: Share information about nearby schools, parks, or community amenities.
5. Engage Visitors Without Being Pushy
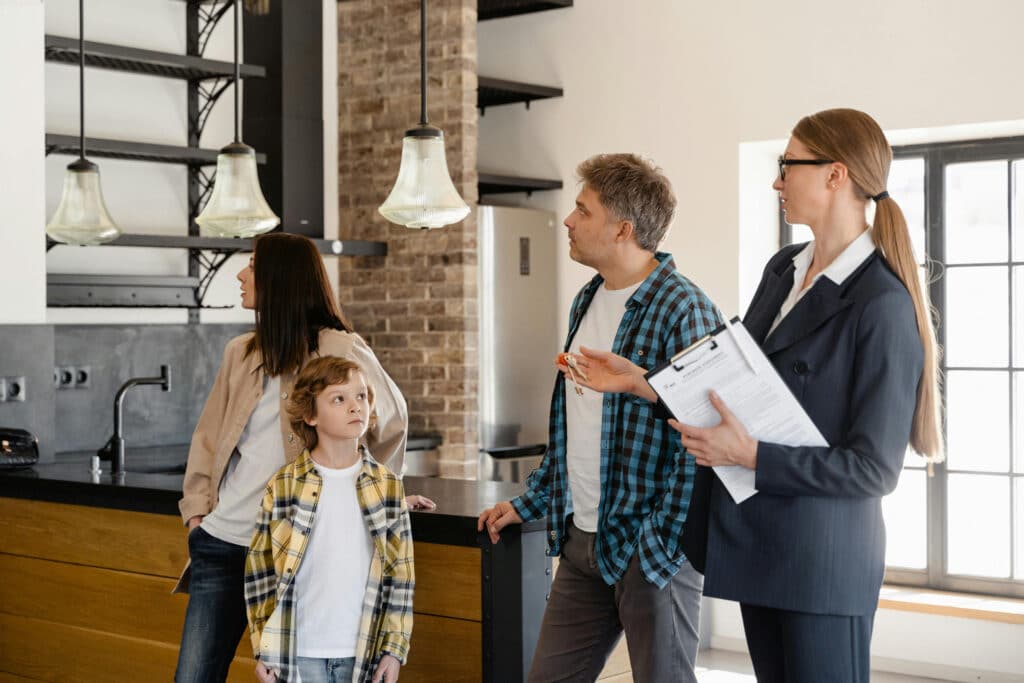
The key to a successful open house is balancing friendliness with giving guests space to explore. I like to position myself near a central area—like the kitchen or living room—so I’m visible but not intrusive.
Ask open-ended questions to gauge interest:
- “What do you think of the layout so far?”
- “Are you looking for something in this area specifically?”
Be ready to handle objections. For example:
- “The bedrooms seem small.”
“I can see why you’d say that! Have you noticed the large closets? And the extra bonus room offers more storage.”
6. Collect Feedback Before Guests Leave
Before guests head out, take the opportunity to gather feedback. This helps you learn more about what buyers want and gives you material to share with your sellers.
Example Closing Interaction:
“Thank you for stopping by! Any thoughts or feedback about the home? I’d love to hear what you think.”
7. Stay Professional Throughout the Event
Even if traffic is slow, stay positive and engaged. You never know when the right buyer will walk through the door. Use downtime to:
- Review your sign-in sheet.
- Take notes about attendees for follow-up later.
- Post a quick update on social media (e.g., “Great turnout at today’s open house! Stop by before 3 PM to see this beautiful home.”).
Helpful Open House Examples: For inspiration on how other agents run their events, check out these real-life open house examples on Highnote.
Post-Open House Follow-Up Checklist
The work doesn’t stop when the open house ends—this is where the magic happens. I’ve found that effective follow-up is what sets top agents apart from everyone else. After all, what’s the point of hosting an open house if you don’t nurture the relationships you started?
When I first started in real estate, I made the mistake of delaying follow-up. By the time I reached out, people had already moved on or forgotten me. Now, I follow a strict post-open house system, and my results have dramatically improved.
Here’s your step-by-step post-open house follow-up checklist to turn attendees into clients.
1. Organize and Input Leads into Your CRM
Immediately after the open house, gather all the sign-in sheets or digital lead capture data and organize it into your CRM (Customer Relationship Management) system. This ensures no lead slips through the cracks.
Categorize your leads:
- Hot Leads: Ready to buy or sell soon.
- Warm Leads: Interested but not ready yet.
Cold Leads: Just browsing but worth nurturing.

2. Send Personalized Follow-Up Messages Within 24 Hours
Timely follow-up is everything. People are busy, and their memories fade quickly. Reach out within 24 hours while the open house is still fresh in their minds.
For Hot Leads: Send a personalized email or text:
“Hi [First Name], thanks for stopping by the open house at [Property Address] yesterday! Let me know if you have any questions or if you’d like to schedule a private showing. I’d be happy to help!”
For Warm/Cold Leads: Send a general thank-you email with value-added content:
“Hi [First Name], thank you for visiting the open house at [Property Address]! I’ve attached a list of other homes in the area that might interest you. Let me know if there’s anything specific you’re looking for!”
Helpful Resource: Need follow-up tips? Check out these additional open house tips for agents for proven strategies to engage leads effectively.
Adding value during your follow-up can make a lasting impression and help you stand out. One of the best tools I’ve used is a buyer presentation. After hosting open houses, I’ve found that sending a professional, interactive presentation is a game-changer for connecting with serious buyers.
A buyer presentation showcases your expertise while walking potential clients through the buying process. It’s also a chance to highlight what sets you apart – like your local market knowledge, negotiation skills, or client success stories.
How I’ve Used It Effectively:
For leads who seemed interested but hesitant, I’ve followed up with a customized buyer presentation using Highnote. I’d include local market data, a step-by-step guide to buying a home, and even testimonials from past clients. This not only helped answer their questions but also reinforced my professionalism, leading to several clients choosing to work with me.
But how should you do it?
Personalize the presentation to each lead – include specific neighborhood stats, school ratings, or homes similar to the one they viewed at the open house. Send it as a follow-up link and offer to walk them through it over a call or meeting.

3. Share Additional Resources
Adding value during your follow-up can help you stand out. Share resources like market reports, neighborhood guides, or links to other properties.
Example: If attendees weren’t sold on the open house property, send them a curated list of similar homes in the area.
Include a link to your digital open house presentation (if you created one using Highnote). You can customize it to include local stats, school information, and more.
4. Follow Up with Your Sellers
Your sellers are naturally anxious to hear how the open house went. A timely, detailed update not only reassures them but also strengthens their trust in you as their agent. One effective way to provide this information is by using a Highnote Seller Portal Template or Seller Update Template.
These tools help you share updates in a professional, organized, and visually appealing format.
What to Share with Sellers:
- Number of attendees.
- General feedback on the property (e.g., “Visitors loved the kitchen, but some thought the living room was too small”).
- Next steps (e.g., pricing adjustments, staging changes, or additional marketing efforts).
Example Email to Sellers:
“Hi [Seller’s Name], we had a great turnout at the open house today with [X] groups coming through. Overall, the feedback was positive—most visitors loved the updates to the kitchen, and a few had questions about the backyard space. I’ve included a link to your Seller Update Portal where you can view detailed feedback and updates on the property’s marketing progress. I’ll continue following up with attendees this week to gather more insights. Let’s connect soon to discuss next steps!”

5. Plan Your Follow-Up Calls
Leads are only as valuable as the effort you put into nurturing them. After your initial outreach, schedule follow-up calls with attendees—especially the “hot” and “warm” leads.
- Hot Leads: Call within 48 hours to gauge interest and schedule a private showing.
- Warm Leads: Follow up a week later to check in and share additional listings.
Cold Leads: Add them to your email list for regular updates like newsletters or market insights.
6. Evaluate Your Open House Performance
Take a few minutes to reflect on what went well and what could be improved. This helps you fine-tune your approach for future open houses.
Questions to Ask Yourself:
- How many attendees signed in?
- Did I get enough quality leads?
- What feedback did I receive about the home or my presentation?
- Was my marketing effective in driving traffic?
Example Reflection: At one open house, I noticed that most attendees asked about school districts. For the next event, I prepared a printed list of nearby schools and included it in my presentation. Small adjustments like this can make a big difference.
Conclusion: Your Open House Success Starts Here
Hosting a successful open house doesn’t have to be overwhelming, even if you’re new to real estate. With the right preparation, execution, and follow-up strategy, you can use open houses to not only showcase properties but also grow your network, generate leads, and establish yourself as a trusted agent.
Here’s what I’ve learned over the years: consistency is key. Every open house is an opportunity to practice, improve, and leave a lasting impression on potential clients. By following this ultimate open house checklist, you’ll feel confident and organized every step of the way – before, during, and after your event.
The open house process is so much more than unlocking doors and waiting for people to show up. It’s about building relationships, delivering value, and turning every attendee into a potential future client. Use this guide to stay organized, show your professionalism, and make every open house count.
Your Next Step: Grab the open house checklist, prepare for your next event, and watch how a well-executed open house can grow your business. If you have any questions or want more tips, drop them in the comments – I’m here to help you succeed!
FAQs: Open House Checklist & Success Tips
How do you master an open house?
To master an open house, focus on preparation, presentation, and follow-up: market the event thoroughly, create a welcoming environment, engage with visitors, and follow up promptly to nurture leads into clients. Consistency and attention to detail are key.
What to make for an open house?
Offer simple refreshments like bottled water, cookies, or light snacks to make guests feel welcome. Avoid anything messy or strong-smelling—keep it clean, easy to grab, and professionally presented.
What is open house format?
An open house format typically involves a scheduled timeframe (e.g., 2-4 hours) where potential buyers freely tour the property. Agents greet guests, highlight key features, answer questions, and collect contact information for follow-up.
How to dress for an open house?
Dress professionally and appropriately for the market you serve; business casual works well in most settings. For luxury listings, opt for polished attire like a suit or blazer to match the property’s tone.
What is the best time of day for an open house?
The best time for an open house is typically midday on weekends—between 11 AM and 3 PM – when most people are free. However, consider your local market; weekday evenings may work better in certain areas with busy professionals.


